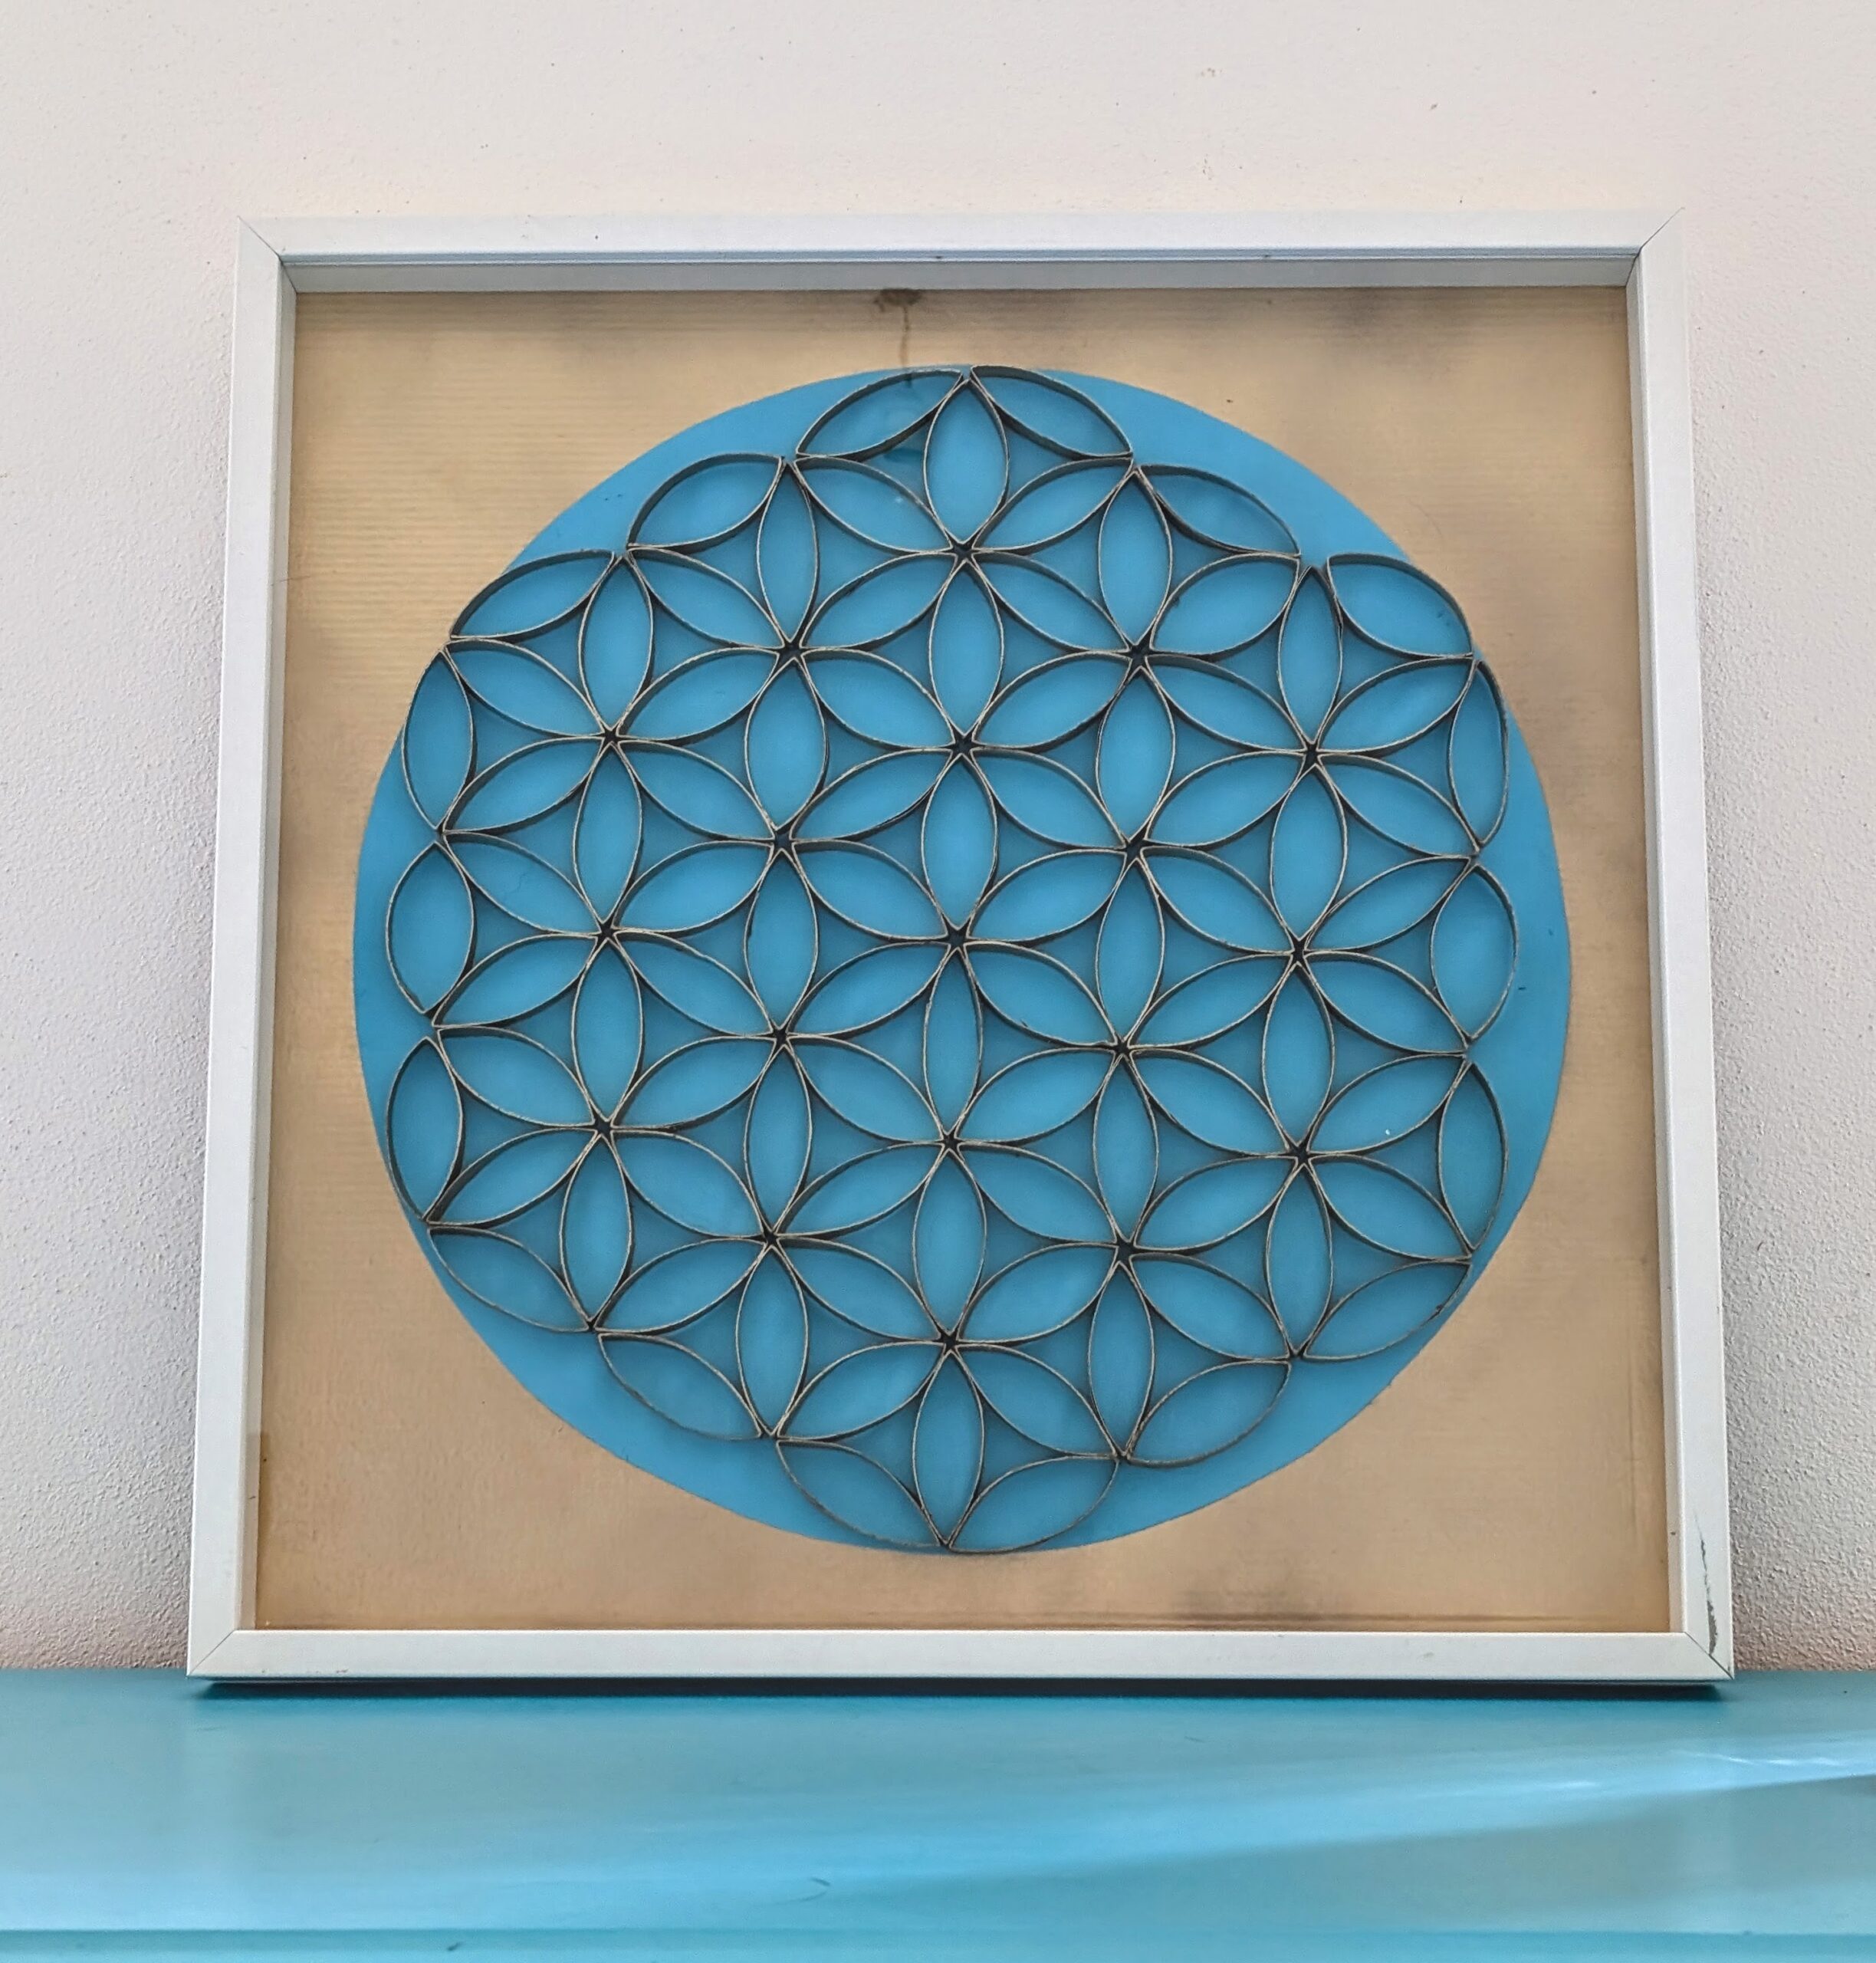
Flower of life with toilet paper inner tubes
One of my passions is quilling, but commitments have left me with very little time to make any art at all these past few years (and yes, the slow life is not quite as slow as I was hoping!). I have so many ideas of what I would like to quill next. However, the flower of life has always been something I go back to when I want to create something meaningful and meditative, as putting it together relaxes me and makes me go into a flow state.
I came up with the idea of using toilet paper tubes because I wanted to create a bigger picture for the spare bedroom. Having little time to roll paper these days, I thought that using the tubes would be a much quicker way, and in the process, I would also do some recycling!
I saved so many of them but only used around 10 or 11 in the end. I think the result is pretty good. So, if you would also like to make one, you can find the instructions below.
Depending on the size of the tubes you use, you should end up with a flower of life around 42cm in diameter.
Materials needed:
- 10 – 13 toilet paper inner tubes (more or less depending on how thick you intend to cut them)
- ruler
- pencil
- scissors
- glue
- cardboard – any colours or thickness
- spray paint
- deep box picture frame (50cm X 50cm)
- one nail and some string
Instructions:
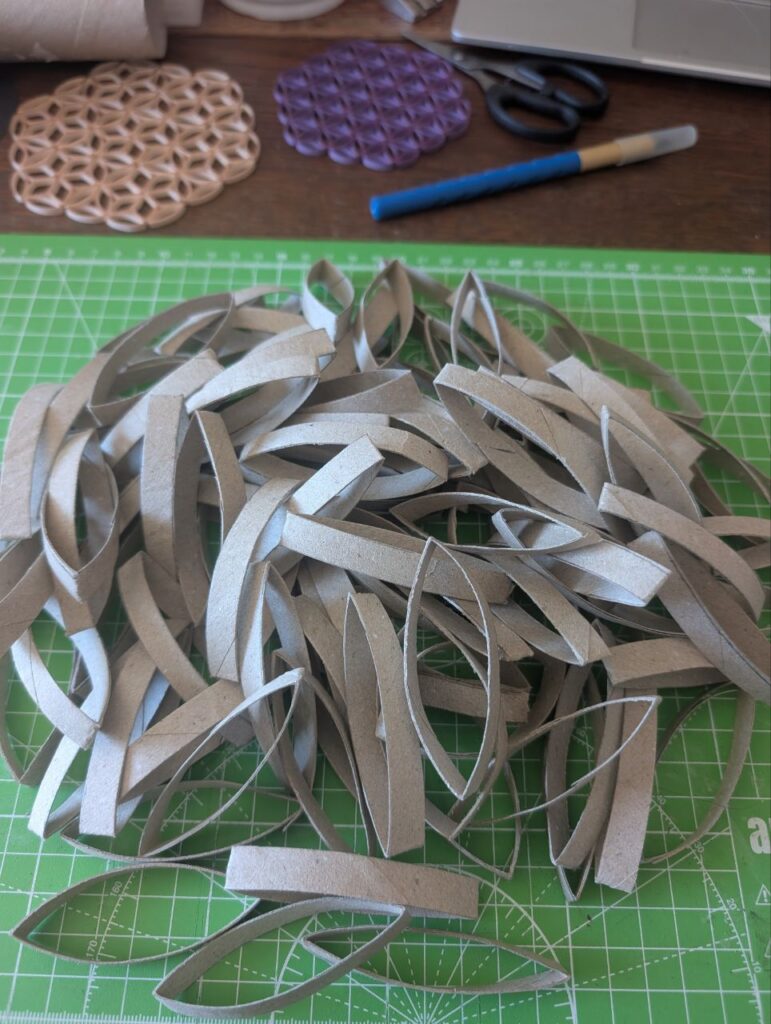
Press the tubes flat, making sure the edges are nice and smooth all the way.
Use the pencil and ruler to make horizontal straight lines all the way, leaving the same gap to make them all the same width (mine are 1cm). Cut them into strips/rings. You will need 90 to make the flower of life but cut more to have spare ones.
Before you start gluing them together, you should check all the rings to see which ones are the best and also to ensure they are not coming apart in the middle. Sometimes, the tubes are not glued very well, so you need to add a little glue before using them.
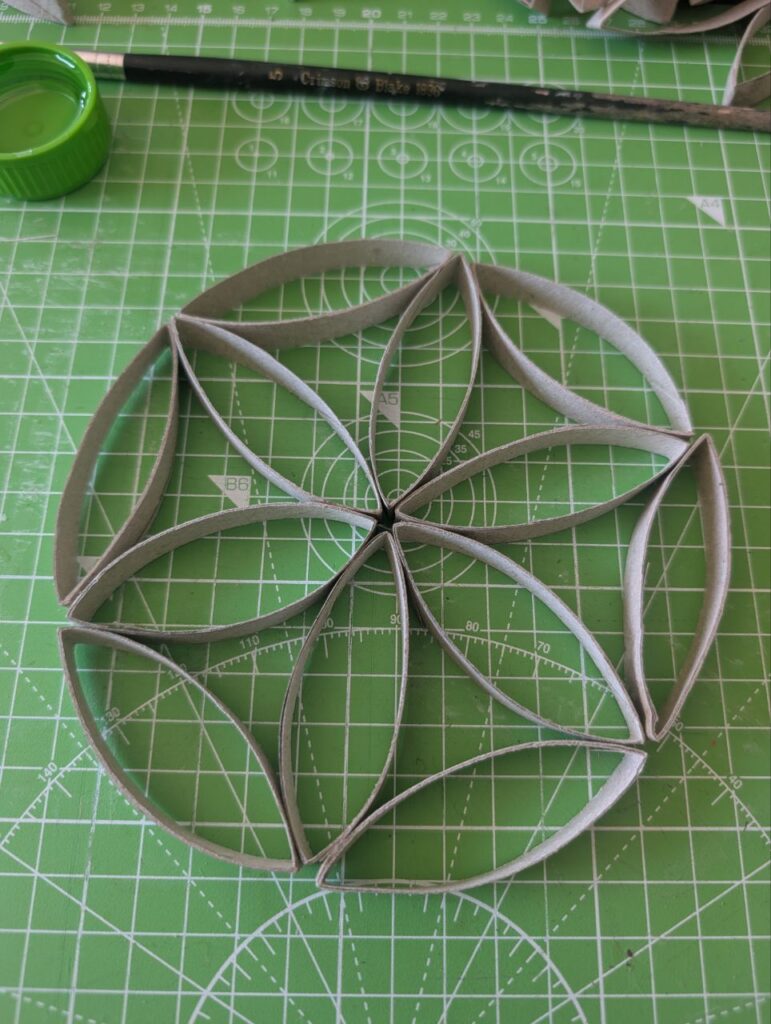
Now, the fun begins. You can start putting the flower of life together. First, try and familiarise yourself with what it looks like. Please look at my picture to see how to position the oval rings. Once you are confident, brush the corners of the rings with glue or dip the sides directly in the glue and position them.
Continue to build the flower of life until you have finished the design.
Leave it to dry.
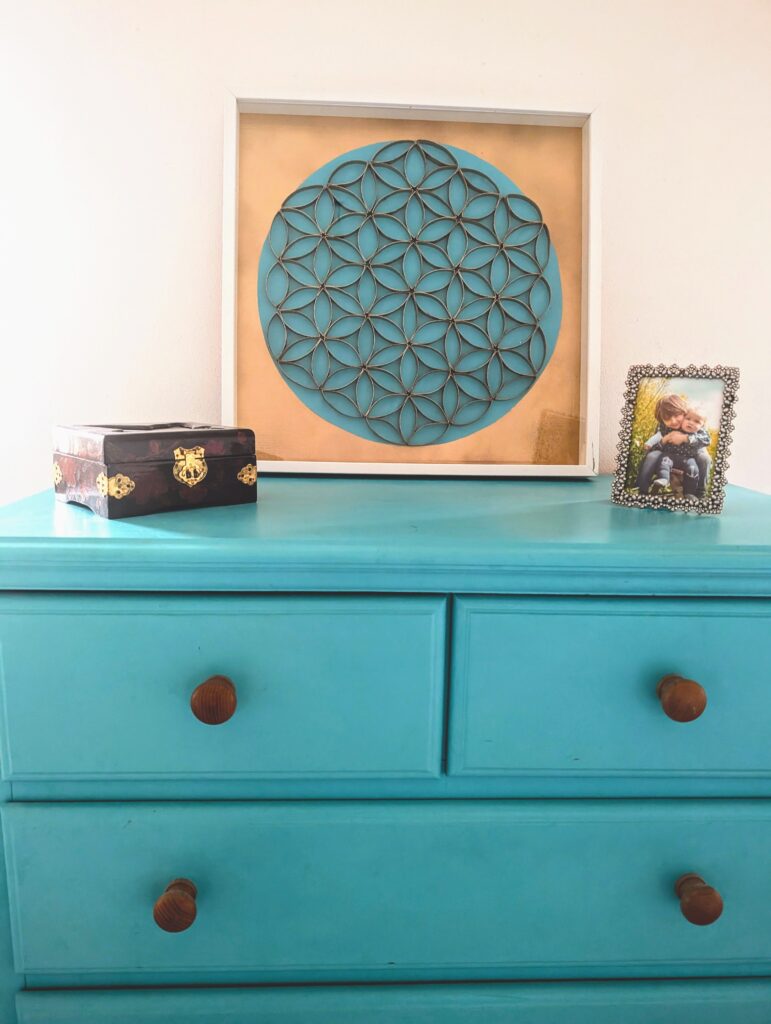
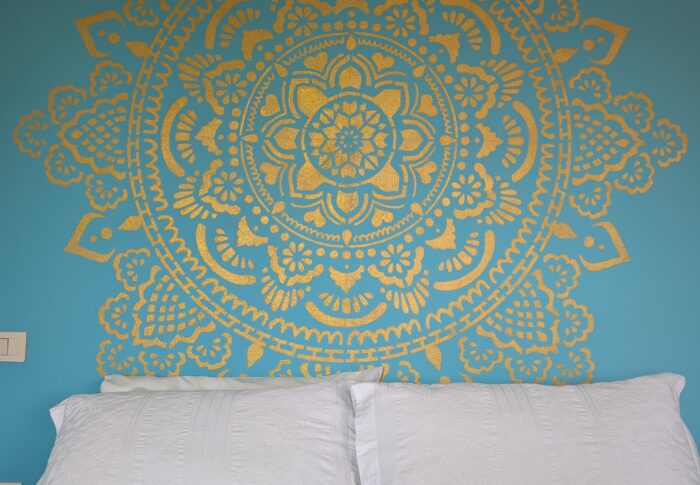
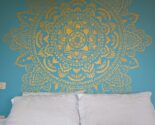
Once it is all dry, you can spray paint it in the colour of your choice. I chose gold because turquoise and gold are two of my favourite colour combinations, and the spare bedroom has exactly those colours, so it was a no-brainer for me.
While drying, you can draw and cut the circle that will be stuck under it.
This was a tricky part for me because I had nothing circular with the exact measurements needed. In the end, I took a nail, attached a string to it and carefully measured the widest part of the flower of life FROM THE MIDDLE (you want the radius). Attach a pencil at the other end of the string, keeping the nail in the middle of the cardboard (turquoise for me!). Stretch the string and pencil, and draw a circle, making sure the pencil is always perpendicular. You can have a look at this step-by-step tutorial: How to Draw a Perfect Circle Using a Pin: 9 Steps (with Pictures)
Once you have drawn your circle, you can cut it, and when the flower of life is dry, stick it on top. Your flower of life is ready!
To put it in my deep box frame, I decided to spray paint the frame’s backing with the same gold I used for the flower of life and then glue it in the middle.
If you try it, please show me how yours turns out.
And if you fancy doing some other satisfying crafts you could try an easy dream catcher like this one I made some time ago https://talesfromthecountryside.com/2024/08/how-to-make-a-shabby-chic-dreamcatcher-with-things-found-in-your-garden/
-
-
1 month
Tagged bedroom, diy, feature wall, home decor, mandala