Happy birthday bunting – print your own
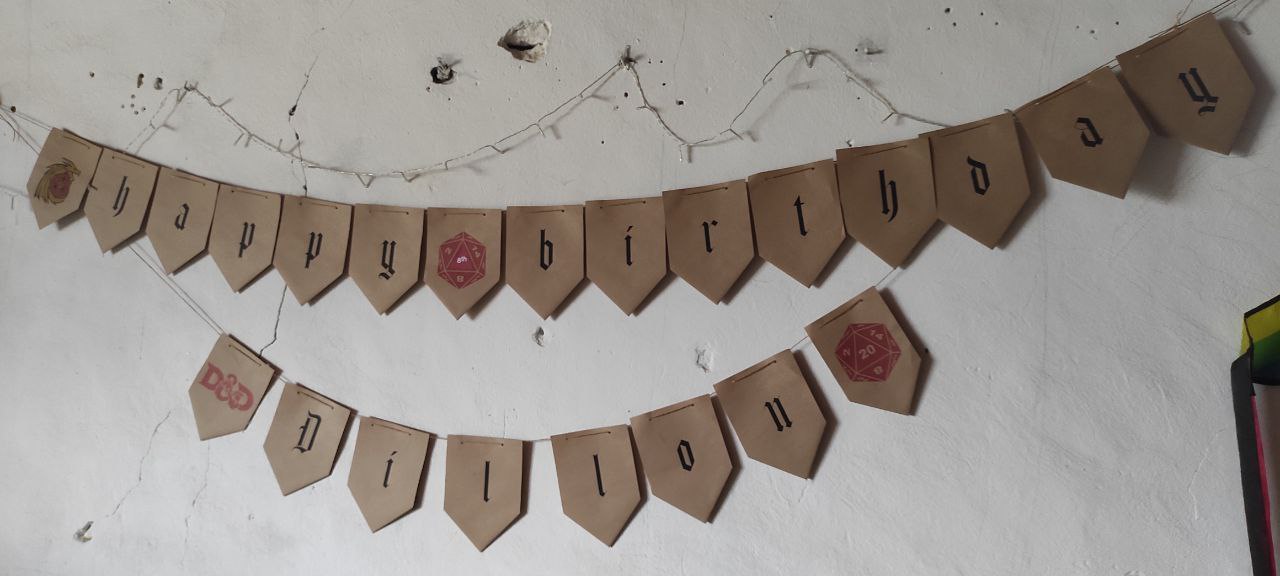
It is that time of the year again. Another birthday party to organise as my youngest turns 9. Yeeeeak! Already 9! Don’t we all always freak out at how quickly they grow up?! Anyway, 3 years ago, it was a Harry Potter themed party; last year, it was Dungeons and Dragons; and this year, it is the Eragon saga’s turn. It seems that dragons are a constant feature in all of my little one reads or is obsessed with. Anyway, I digress. This is his third birthday we celebrate in Italy, actually 4th, but the first one was a surprise party organised by my friends as we had just arrived 2 weeks earlier and were not in the position to organise or host anything. Since he has just changed schools this year, it is a perfect opportunity for Paul and I to get to know all his new friends and parents.
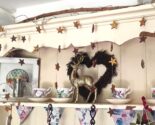
As usual, I like to decorate using the theme chosen, so even this year, I will make quite a few things myself. This is just a quick and easy happy birthday bunting that I made last year for the D&D birthday party, so I have changed it slightly to reflect this year’s theme. You will see in the picture that there are some D&D related pictures, which are not included in the bunting for copyright issues, but you can easily find any picture on the net to suit your theme and add them. In a few easy steps, you can have your own bunting too. Just download and print the pages I have attached at the end of this post and follow the instructions. In less than half an hour, you will have a perfect bunting for any birthday, and you can print it again any time you need it!
Tools needed:
- Printer
- A4 paper (any colour you want – for my bunting, I choose brown paper, the one that looks like parchment/packaging paper, to give a more “medieval” look
- Scissors
- String or ribbon
- Hole puncher
- Sellotape
- Any decorations you wish to add.
Instructions:
- First, print the pages in landscape. Print all the letters for “Happy Birthday” (pages 1-7) and then choose the pages with the letters of the celebrated person, whether a name or whatever you want to write. Each page has two letters. You will see I have included both capital and small letters
- When you have all the letters, fold the A4 sheet in half so you can cut the letters apart.
- Turn one of the halves over so you have the back facing you and with the letter head down. Then take the two top corners, make them meet in the middle, fold them into a triangle (see my picture), and stick some tape over it to keep it in place. Make sure you are doing it at the bottom of the letter.
- Repeat for all the letters you need.
- When they are all done, make two holes in the middle top of the page using the hole puncher. (if you want to make the holes a bit stronger so it doesn’t rip easily, you can add a little strip of Sellotape before you punch the holes like in my picture)
- After that, you can thread through a ribbon or a string.
- Add more decorations if you want and you are done! Just need to hang it up and start partying!


I hope this was helpful.
Have fun

Comments